

Your next customer shouldn’t need detective skills to find your opening hours. Let’s build a Google Business Profile that tells people who you are, where you work, and how to take the next step.
Best for: eligible local storefronts, service businesses, and businesses that serve customers both ways. Allow: about 20–30 minutes to prepare and enter details, plus Google’s separate verification and review time.
You’ll work through finding an existing listing, creating or claiming the right profile, completing verification, and checking the details customers see. Think of it as getting your digital front door ready for visitors.
Before you start: gather your business details
Have your real business name, main business category, website address, business phone number, opening hours, and a few accurate business photos ready. Decide who should manage the profile and use a business-controlled Google Account rather than depending on an employee’s personal login.
Check eligibility first. Google’s profile guidelines focus on businesses with a location customers can visit or businesses that travel to their customers. Online-only businesses without in-person customer contact aren’t eligible. Don’t invent a public address to qualify (Google, n.d.-c).
Your preparation task: Put the details in one document and compare them with your website. Fix obvious inconsistencies before starting. A correct phone number beats a beautifully formatted wrong one every time.
Step 1: look for an existing profile
- Open Google Search or Maps and search for your business name and city.
- Check whether an existing result matches your actual business. Compare the location, phone number, and website rather than relying on the name alone.
- If there is a matching unverified listing, follow the claim option instead of making another listing.
- If someone already manages the profile, use Google’s ownership-request process. Don’t create a duplicate to work around access.
- If no matching profile exists, open Google’s Business Profile setup page and sign in with the Google Account you will use to manage it.
Google’s claim and creation guidance explains the available routes (Google, n.d.-a).
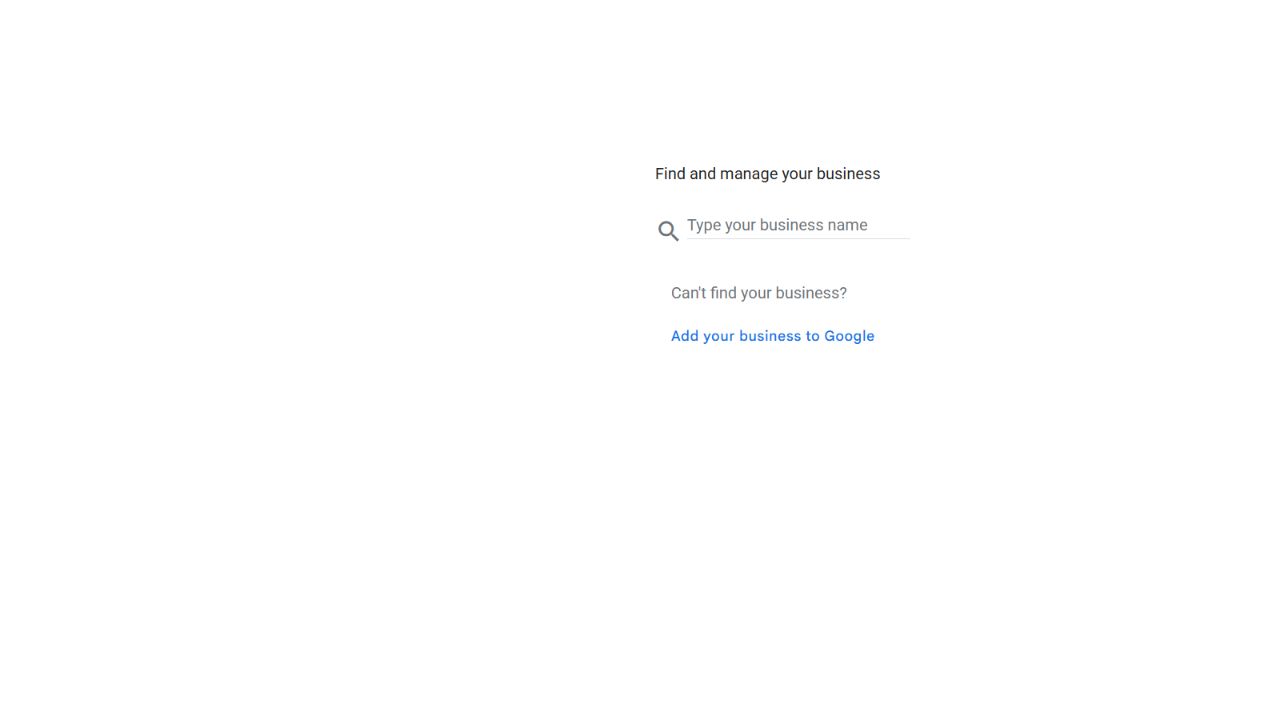
Checkpoint: You know whether you’re claiming, requesting access to, or creating a profile.
Step 2: enter your business name and main category
- For a new listing, select Add your business to Google.
- Enter the name customers recognize from your real-world branding.
- Choose the available business category that best represents your main activity. Describe what the business is, rather than every service it might offer.
- Review both entries before continuing through Google’s setup prompts.
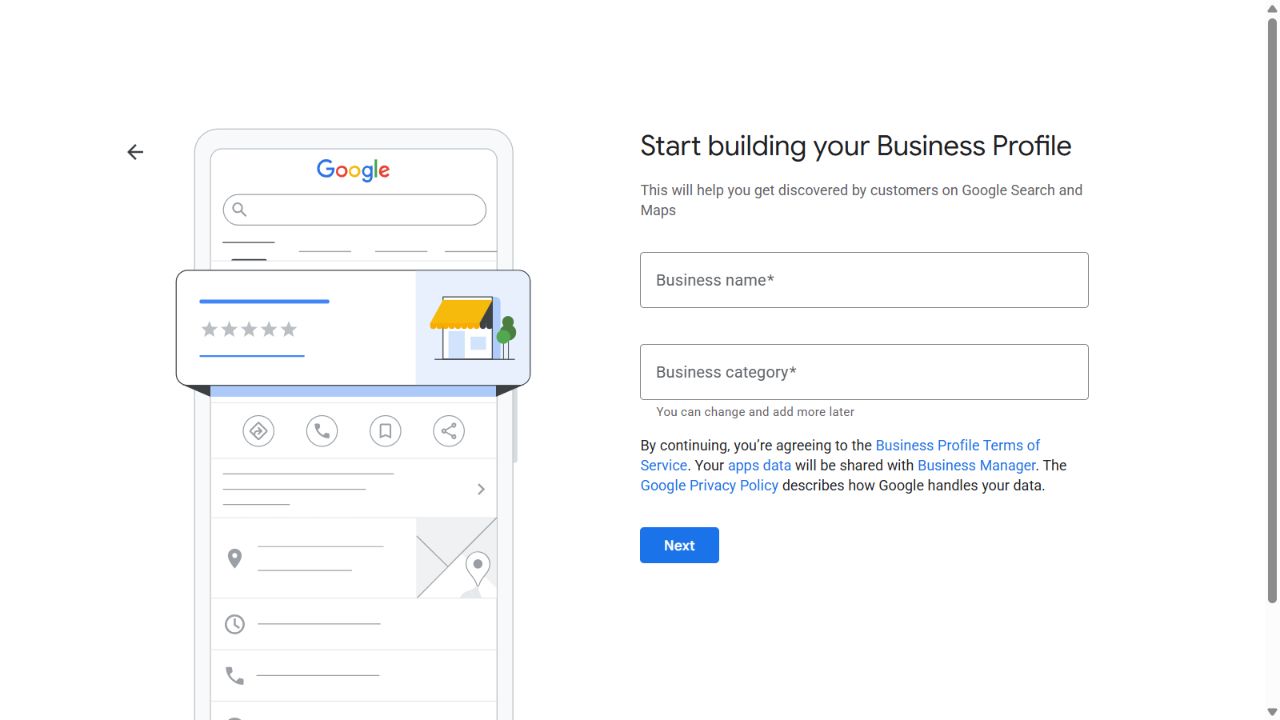
Example: If your signage says “Poppy Lane Cleaning,” keep that identity consistent. Don’t turn the name field into a string of towns and promotional keywords. Keep additional wording out unless it is genuinely part of your business name (Google, n.d.-c).
Step 3: choose your location and add contact details
- Follow the setup questions about where you serve customers. Choose the answer that describes how you actually operate.
- If customers visit your premises, enter the genuine business address and check any map pin Google asks you to confirm.
- If you travel to customers and do not serve them at your address, use the service-area route. Do not display your home or office address as a customer destination.
- If you serve customers at your premises and travel to them, provide the applicable location and service areas. Follow Google’s prompts for your business type.
- Enter the business phone number and website when prompted. Open the website yourself and check the contact information against your preparation document.
- Review the details before continuing. If Google asks a question in a different order, use the same factual information.
A service area describes where you work; it is not a way to claim a storefront you do not have. Apply Google’s location and business-representation rules to your actual operating model (Google, n.d.-c).
Example: A cleaner who visits customers’ homes and never receives customers at their own home should follow the service-area setup. A shop receiving customers during its stated hours should use its genuine customer-facing location.
Checkpoint: A customer could use these details without arriving at the wrong address or calling the wrong number.
Step 4: complete the verification Google offers
- Open your profile’s verification prompt, such as Get verified.
- Review the methods available for this business. Google determines the options; another business’s verification experience may differ from yours.
- Follow the instructions for the offered method. Prepare the required location or business evidence if a video process is requested.
- Submit through Google’s verification workflow and monitor its status.
- Wait for confirmation before assuming verification is complete. If Google asks for another step, address that request.
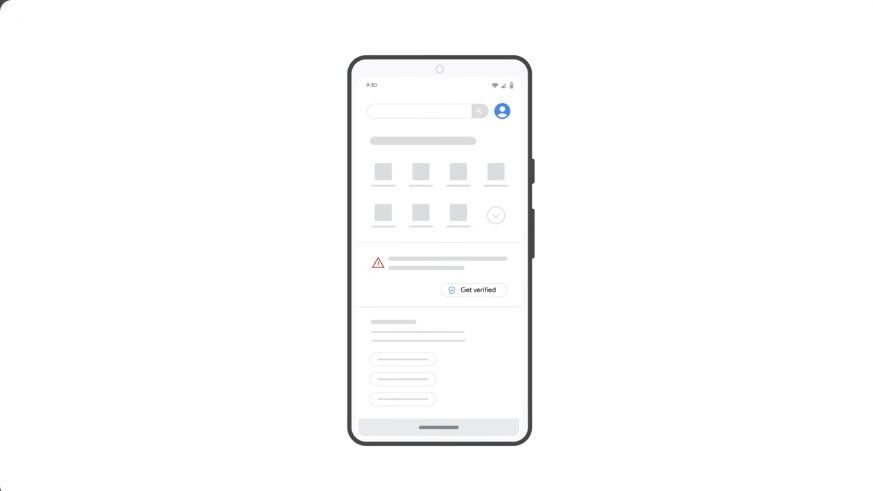
If Google offers video recording
- Plan evidence of your location, business activity, and authority to manage the business. Follow the requirements for your business type.
- On your mobile device, open the profile, tap Get verified → Business video → Next, and read the requirements.
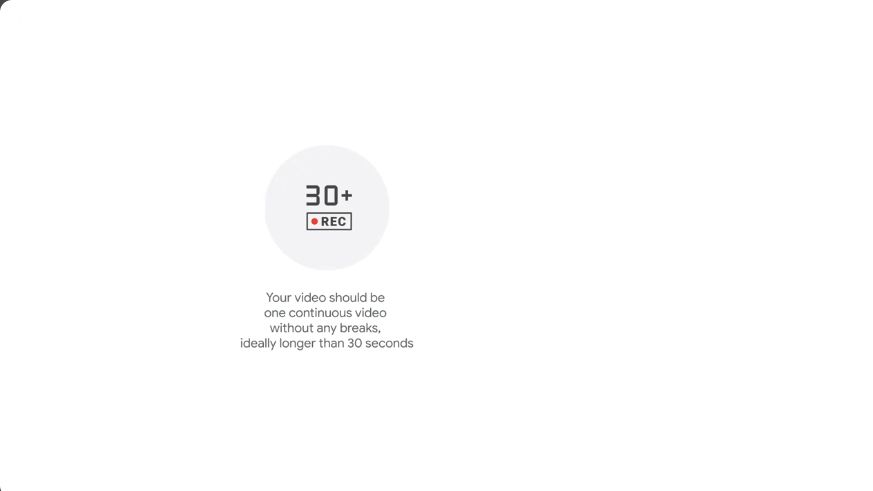
- Continue to Start recording. Record one continuous, unedited video of at least 30 seconds through the verification flow. You cannot prepare a recording offline and upload it later.
- Stop and review the recording. Keep private information, sensitive numbers, and other people’s faces out of it. Re-record if necessary.
- Select Upload video and wait for Google’s review. Google says this can take up to five business days (Google, n.d.-f).
Keep verification codes private. If the process fails, use Google’s verification troubleshooting guidance rather than repeatedly starting new listings.
Checkpoint: You can distinguish a submitted verification request from a verified profile. A submission screen isn’t a finish line. Google chooses the available verification methods and may require more than one (Google, n.d.-e).
Step 5: review the information customers will use
Once you can manage the profile, open it through the linked Google Account. On Search, choose Edit profile, update the relevant details, and select Save. In the current Google Maps mobile app, use Business → Edit profile, make your changes, and save (Google, n.d.-b).
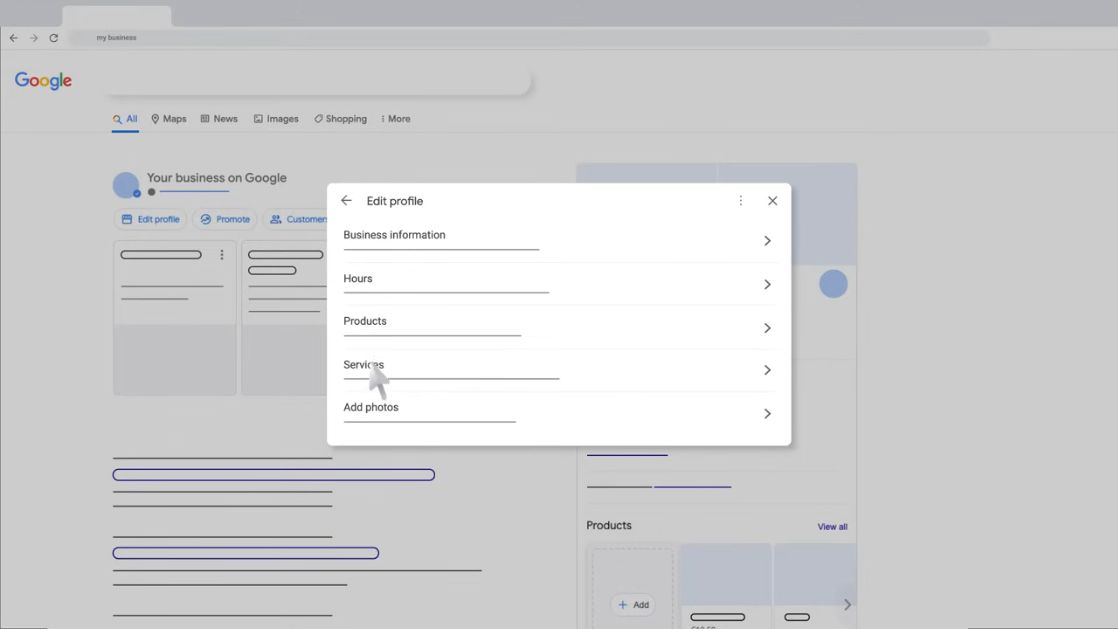
Work through the customer questions in this order:
- Is this the right business? Confirm the name and category.
- Can they help me? Describe the real services you provide.
- Can I reach them? Check the phone and website.
- Can I visit or book now? Enter your normal opening and closing times, mark genuinely closed days, and review applicable visit or appointment details. Save each change.
Google reviews edits, so an update may not appear immediately. Recheck its status instead of assuming the save failed (Google, n.d.-b).
Step 6: give the profile some useful personality
Write a short, factual business description: what you do, who you help, and a real point of difference. Google’s guidelines exclude links and sales-focused promotions from this description. Give readers a clear picture rather than a cabinet full of superlatives (Google, n.d.-c).
Original illustrative description: “Poppy Lane Cleaning provides recurring home cleaning and move-out cleaning for local households. Our team helps customers choose a service around their property and priorities.” Only use a description like this when those statements accurately describe the business.
Choose authentic photos that answer practical questions: what the entrance looks like, what customers can expect inside, or the work and equipment relevant to your service. Use images you have permission to publish. Then add them:
- On your computer, open Google Search or Maps and search for your business name and city while signed into its management account.
- Select Photos → Add photos and choose your image files.
- For a logo or cover image, use Photos → Add a logo or Add a cover photo when available.
- Check the upload status. Pending is different from live; customer-visible photos require a verified profile (Google, n.d.-d).
Use clear JPG or PNG photos between 10 KB and 5 MB; Google recommends 720 × 720 pixels. Do not assume your selected cover will always be shown first (Google, n.d.-d).
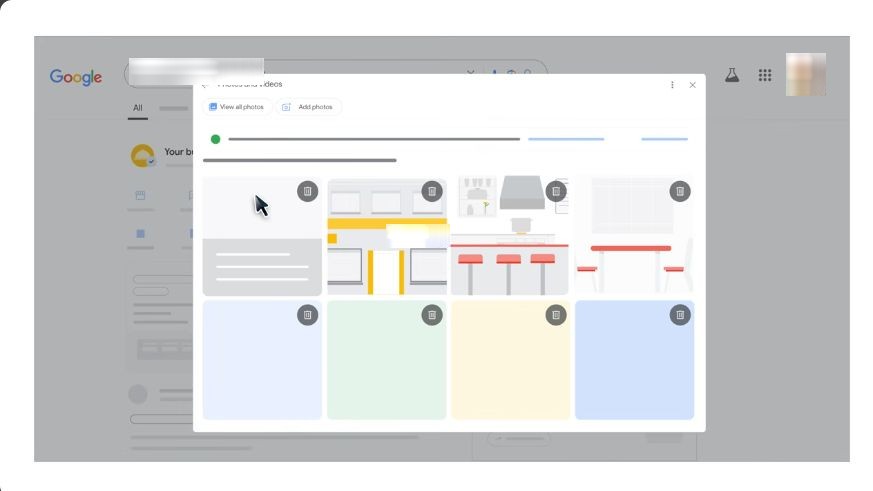
Checkpoint: Your description is accurate, your images are relevant, and you have checked which uploads are actually live.
Step 7: check the profile as a customer
- Use a signed-out browser window to search for your business name and city in Google Search or Maps. Open the public result so you can check what a customer sees.
- Check the name, location/service information, hours, website, and phone. For a service-area business, confirm that a private address is not shown as a place customers should visit.
- Open the website link and make sure it reaches the intended page.
- Inspect the profile on a phone for readable information and useful photos.
- List any missing or pending changes and return to the relevant editing section.
Ask someone unfamiliar with the business to review it. Can they explain what you do and how to contact you? If they need a guided tour, simplify the information.
Common snags and what to do next
- A listing already exists: Check claim or ownership options before creating another.
- You can’t find management controls: Confirm you’re using the Google Account associated with the profile.
- Your preferred verification method is missing: Follow the options Google offers rather than promising yourself a postcard or phone call.
- An edit hasn’t appeared: Review its status and Google’s relevant guidelines.
- The profile is complete but business hasn’t increased: Treat it as one useful customer touchpoint. Accurate information is valuable; a completed profile is not a ranking or lead guarantee.
Your next step: keep the front door tidy
Set a reminder to review details when your hours, services, location, or contact information changes. Keep a record of who manages the profile. A useful profile reflects the business you run today, not the business you ran three holiday schedules ago.
References
Google. (n.d.-a). Add or claim your Business Profile. Google Business Profile Help. Retrieved November 3, 2026, from https://support.google.com/business/answer/2911778
Google. (n.d.-b). Edit your Business Profile. Google Business Profile Help. Retrieved November 3, 2026, from https://support.google.com/business/answer/3039617
Google. (n.d.-c). Guidelines for representing your business on Google. Google Business Profile Help. Retrieved November 3, 2026, from https://support.google.com/business/answer/3038177
Google. (n.d.-d). Manage your Business Profile photos & videos. Google Business Profile Help. Retrieved November 3, 2026, from https://support.google.com/business/answer/6103862
Google. (n.d.-e). Verify your business on Google. Google Business Profile Help. Retrieved November 3, 2026, from https://support.google.com/business/answer/7107242
Google. (n.d.-f). Verify your business with a video recording. Google Business Profile Help. Retrieved November 3, 2026, from https://support.google.com/business/answer/14271705
Google Business Profile. (n.d.-a). How to edit your Business Profile on Google [Video]. YouTube. https://www.youtube.com/watch?v=zyfqSKierWU
Google Business Profile. (n.d.-b). Verify your business with a video recording: Storefront [Video]. YouTube. https://www.youtube.com/watch?v=gXOKDkUotns
Google Help. (n.d.). How to manage photos or videos for your Google Business Profile [Video]. YouTube. https://www.youtube.com/watch?v=p6nsUqNbKvs
Google product visuals are credited to Google. Video frames were captured from the official walkthroughs linked by Google Help and are presented as illustrations, with privacy masking where noted. This independent Platinum Infinity tutorial does not imply Google endorsement.